Understanding Manual Banding Tools: Basics and Benefits
What is a manual banding tool and how does it work?
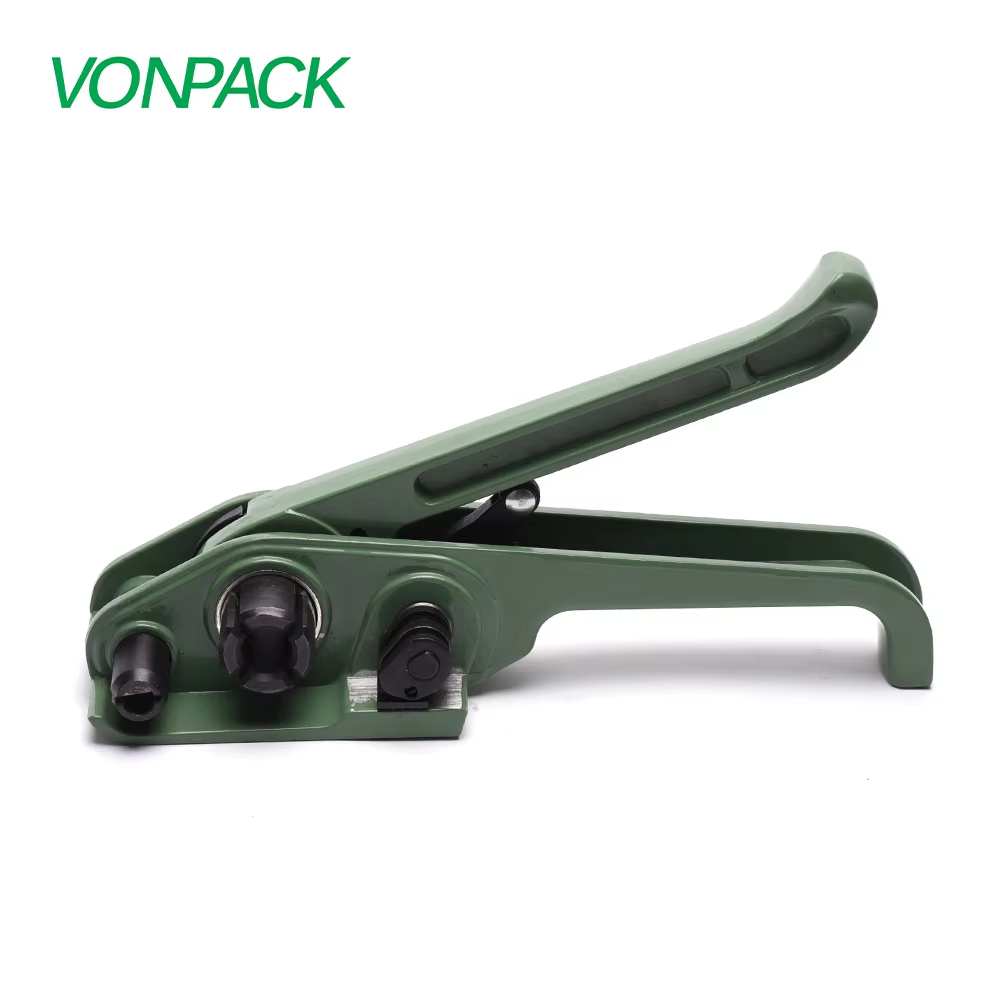
Manual banding tools are basically hand operated devices used to tighten and cut plastic or metal straps around packages. They work through a simple lever system that puts just the right amount of pressure on whatever needs securing, all without needing any electricity. When someone pulls the handle, the strap gets tighter step by step until it's snug against whatever's being wrapped. Most models come with a little cutting edge built right in so there's no need for extra tools to trim off the leftover strap ends. These tools tend to be really handy for people who only need to do occasional packaging jobs in places like repair shops or small businesses where getting things just right counts for more than how fast they can wrap something up.
Core mechanics: Tensioning, sealing, and cutting in one motion
Modern manual banding tools integrate three essential functions:
- Tensioning: A ratchet system applies 200–300 lbs of force—sufficient for light-duty loads per industry standards
- Sealing: Interlocking seals create friction-based joints stronger than the strap itself
-
Cuting: Angled blades cleanly slice excess strap, eliminating sharp edges
This streamlined process reduces complexity for beginners. According to a 2023 packaging survey, workers master manual banding tools 40% faster than semi-automatic alternatives due to intuitive operation.
Ideal applications: Why manual banding tools suit light-duty packaging
The tools work great for those lighter jobs where volume isn't so important stuff like holding down boxes that weigh around 40 to 50 pounds max, tying together bundles of pipes, or keeping pallets from shifting while being moved around. At only about 1.5 to 3 pounds each with their small size, these gadgets really shine when workers need to move around freely on job sites, whether fixing things on rooftops or doing maintenance on farming machinery. They beat out those pneumatic options which always need an air compressor hanging around somewhere. Most small business owners care way more about getting started right away than going full speed all the time anyway, and studies show roughly seven out of ten agree with this approach to tool selection.
Intuitive Design Features That Simplify the Strapping Process
Most manual banding tools come with helpful features that make them easy to use even for beginners. They often include color coded indicators showing how tight the strap should be, plus those handy strap guides that don't need any extra tools to adjust. The design follows basic usability rules so anyone can figure out how to operate it without prior experience. What really makes these tools stand out is the spring loaded feed system that positions the strap just right every time. Plus, the handles are shaped in a way that feels comfortable on the hand and keeps wrists from getting strained during long sessions. People new to banding usually get the hang of things after about 5 to 10 tries. The tool gives clear signals when something's right or wrong through sounds it makes and how it resists movement, which helps train proper usage over time.
Ergonomic Advantages for Prolonged Use and Reduced Strain
These tools are built with light aluminum frames weighing between 1.2 to 1.8 pounds and come with grips that absorb vibrations, so workers can handle them comfortably even after long hours on the job. The heads are angled at around 15 to 30 degrees which helps keep elbows in a natural position, cutting down on those aches and pains people get from working all day. Warehouse studies show that when compared to air-powered tools, these manual versions actually cut down fatigue by about 40% during repetitive work. Plus they don't need any outside power sources or attachments, making them much easier to use wherever the work takes place without worrying about cords or compressed air lines getting in the way.
Beginner Feedback: Real-World Insights on First-Time Operation
According to field tests, around 8 out of 10 trainees manage to get good seals right away after just watching a quick 10 minute demo. People really like how the tool stops common mistakes from happening in the first place. For instance, if someone lines things up wrong, the strap automatically pops out instead of getting stuck, which saves time later. A trainee put it this way: "This thing almost guides you through the process. When there's not enough tension applied, we can actually see the strap start to slip before it even tries to seal." Getting hands on experience happens fast thanks to all these real time signals. Most folks pick up the skills pretty quickly, usually becoming proficient after about 50 attempts give or take.
Step-by-Step Guide to Using a Manual Banding Tool Successfully
Preparing the Strap and Positioning the Tool Correctly
Thread the strap through the feed mechanism, ensuring it lies flat and untwisted. Position the tool perpendicular to the package surface to ensure even tension distribution. Use integrated guide marks or rollers to align the strap properly and prevent slippage during tightening.
Applying Proper Tension and Securing a Strong Seal
When adjusting the tensioning lever, go slow and steady until the strap fits tightly around the package without being too tight. Jerking it suddenly or cranking it down too much might tear through things like cardboard boxes. A study done last year found that most people mess up their strapping because they either don't pull hard enough or handle the lever wrong. After getting it nice and tight, press down on the crimping part until it makes that unmistakable clicking sound we all know means it's really locked in place. That click is our signal everything's secured properly.
Finalizing the Seal and Releasing the Tool Safely
Release the feed mechanism by retracting the release lever. Gently wiggle the tool side-to-side to detach it from the strap without compromising the seal. After use, return both tensioning and crimping levers to their neutral positions to preserve internal spring integrity.
Visual and Tactile Cues for a Successful Banding Job
Inspect the crimp for symmetrical deformation and press down on the strap—it should deflect less than ¼ inch. A well-tensioned strap emits a crisp ping when tapped; a dull thud indicates looseness.
Common Beginner Mistakes and How to Avoid Them
Over-tensioning: Preventing Strap Breakage and Tool Damage
New users often exert excessive force, risking strap breakage and internal tool damage. Data from a 2022 industry survey attributes 37% of manual banding tool failures to over-tensioning. To prevent this:
- Listen for the tension release click
- Apply pressure gradually—straps should compress, not crush, the contents
- Use a tension gauge for fragile or irregular loads
Seal Misalignment and Weak Joint Formation Issues
Incorrect tool angle or inadequate pressure leads to weak, unstable seals. Align the sealer jaws perpendicular to the strap joint and apply firm downward force until a clear “snap” is heard. Practicing on scrap material helps users recognize the optimal 0.5–1 second dwell time needed for reliable results.
Matching the Correct Strap Width and Material to Your Banding Tool
Component mismatches cause 28% of beginner troubleshooting incidents. Always:
- Verify compatibility between your tool and strap width (common sizes: ½” or …”)
- Pair steel seals with polyester straps and composite seals with steel straps
- Never mix new and worn seals in the same joint
Proper pairing reduces seal failure rates by 63%, according to Packaging Digest, compared to ad-hoc combinations.
Manual vs. Pneumatic vs. Electric: Which Is Easiest to Learn?
Manual banding tools are significantly easier for beginners to learn than pneumatic or electric models. Without the need for air compressors or power calibration, they rely solely on hand-powered mechanisms. A 2023 packaging efficiency study found that new users achieve mastery 35% faster with manual tools due to fewer operational variables.
| Feature | Manual Tool | Pneumatic/Electric Tools |
|---|---|---|
| Learning Curve | Minutes | Hours to days (system setup) |
| Cost | $50–$200 | $500–$2,000+ |
| Maintenance | None | Regular motor/compressor upkeep |
Cost, Portability, and Reliability Advantages for Small Operations
Manual tools eliminate recurring costs associated with electricity or compressed air, cutting operational expenses by up to 72% compared to automated systems. Weighing under 5 lbs, they allow single-handed use in confined spaces. Their motor-free construction ensures dependable performance in harsh conditions like dusty warehouses or outdoor sites.
Case Study: Faster Training and Adoption in Warehouse Environments
One logistics center in the Midwest saw a massive drop in training time for employees when they switched to manual banding tools instead of automated systems. New hires who had never worked with packaging equipment before could handle around 120 packages an hour after just two shifts on the job. The workers really liked how the tools felt in their hands and didn't need complicated setups to get started. Most trainees said they felt pretty confident operating these tools after only going through one quick training session. About 9 out of 10 people reported feeling comfortable enough to work independently right away.
FAQs
What are manual banding tools typically used for?
Manual banding tools are primarily used for securing packages, tying bundles, and preventing pallets from shifting during transit. They are ideal for light-duty packaging where precision is more important than speed.
What are the benefits of using manual banding tools over pneumatic or electric options?
Manual banding tools are more cost-effective, portable, and easier to learn compared to pneumatic or electric models. They do not require electricity or compressed air, reducing operational expenses and complexity.
How can I avoid common mistakes when using manual banding tools?
To avoid common mistakes like over-tensioning and seal misalignment, apply gradual pressure, use the correct strap width, and practice on scrap materials to master optimal operation techniques.
Are manual banding tools suitable for beginners?
Yes, manual banding tools are designed to be intuitive for beginners, with features like color-coded indicators and ergonomic grips, making them easier to learn and use effectively.
Table of Contents
- Understanding Manual Banding Tools: Basics and Benefits
- Intuitive Design Features That Simplify the Strapping Process
- Ergonomic Advantages for Prolonged Use and Reduced Strain
- Beginner Feedback: Real-World Insights on First-Time Operation
- Step-by-Step Guide to Using a Manual Banding Tool Successfully
- Common Beginner Mistakes and How to Avoid Them
- Manual vs. Pneumatic vs. Electric: Which Is Easiest to Learn?
- Cost, Portability, and Reliability Advantages for Small Operations
- Case Study: Faster Training and Adoption in Warehouse Environments
- FAQs