
 EN
EN
Getting the Setup Right Before Anything Else
The first step in using a vacuum sealer has nothing to do with the machine itself. It starts with the food and the bag. Food should be clean and dry on the surface whenever possible. Excess moisture on the outside of meat or vegetables gets pulled toward the seal area during the vacuum cycle and can weaken the weld. A quick pat with a paper towel solves most of that. The bag size also matters more than people think. Cutting a bag too small leaves no room for the seal, and cutting it too large wastes material and reduces the vacuum efficiency. A good rule is to leave at least two inches of headspace above the food. That space gives the seal bar a clean area to work with and prevents food particles from interfering with the weld. For first time users, doing this prep work carefully makes the actual sealing process almost effortless.
Filling and Positioning the Bag Correctly
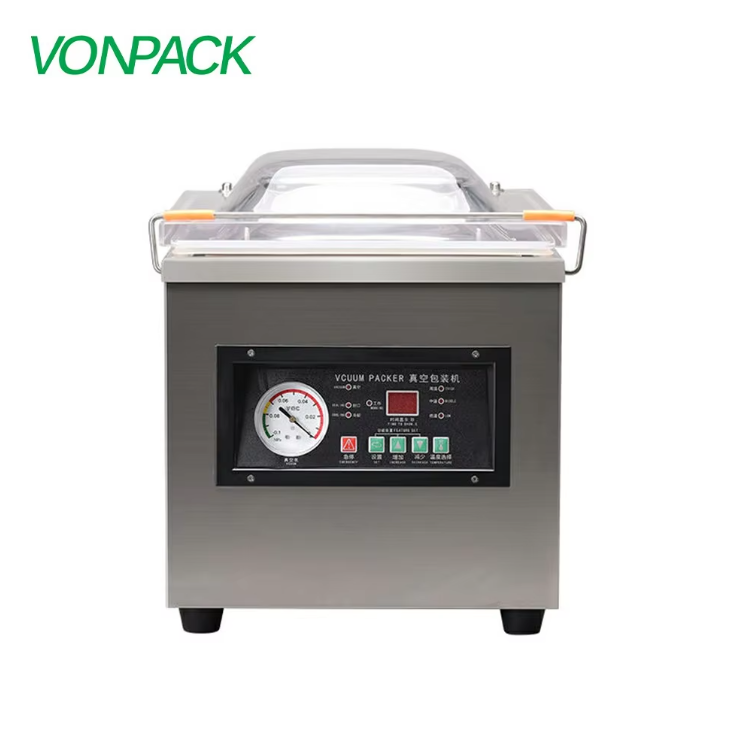
How the bag is filled and placed in the machine determines whether the seal works or fails. The open end of the bag needs to sit flat across the sealing strip, with no wrinkles or folds. Even a small crease can create a channel for air to leak back in after sealing. The food inside should sit below the seal area, not pressed up against it. For liquid rich foods, a common trick is to freeze them for an hour before sealing. The liquid turns to a gel like state and stays put during the vacuum cycle. That single step prevents most of the mess and seal failures that frustrate new users. Positioning also depends on the machine design. Some models have a vacuum chamber where the entire bag sits inside, while others are external suction style where only the open edge of the bag is placed over the seal bar. Knowing which type you are working with changes the setup slightly, so a quick look at the user manual saves time later.
The Sealing Sequence from Start to Finish
Once the bag is in position, the machine takes over most of the work. Close the lid and press down until the lock engages. On external vacuum sealers, the lid must press firmly against the bag opening to create an airtight channel for suction. Then select the working mode based on what is inside the bag. Dry foods use the standard setting. Soft foods need gentle mode. Anything with visible liquid needs moist mode. After selecting the mode, press the start button. The machine will pull air out of the bag, and users can hear the pump working as the bag tightens around the food. When the air is removed, the seal bar heats up and welds the bag shut. Most machines beep or click when the cycle completes. The lid can then be released and the sealed bag removed. The whole process typically takes between twenty and forty seconds depending on the bag size and the food inside.
Checking the Seal Quality After Each Cycle
A seal that looks good is not always a seal that holds. The best practice is to inspect the weld line after every cycle. It should be a clean, straight band across the bag with no gaps, bubbles, or wrinkles. The seal should feel firm when you run a finger over it. If the seal line is wavy or has visible channels, air will eventually leak in and the food will spoil faster than expected. A simple test is to press gently on the sealed bag. It should feel tight like a brick, not soft or squishy. If air is already getting back in, the bag will have some give to it. Catching a bad seal immediately means the food can be resealed in a fresh bag before it goes into storage. Skipping this check leads to the frustrating discovery of freezer burned food weeks later, and by then the waste cannot be undone.
Maintenance Habits That Keep the Machine Running
The operation steps do not end when the food is sealed. The machine itself needs a small amount of attention after each use to stay reliable. The sealing bar should be wiped down with a dry cloth to remove any food particles or moisture that accumulated during the cycle. The drip tray, if the model has one, needs to be emptied and rinsed because liquid overflow collects there. The gaskets around the vacuum chamber should be checked periodically for cracks or debris, since a worn gasket is one of the most common causes of weak suction. The bag cutter, on machines that have one, stays sharper longer when it is kept clean. These tasks take less than a minute but they extend the life of the machine significantly. Users who skip maintenance often find that the machine slowly loses suction power and they do not notice until the seals start failing consistently.
Putting the Whole Routine Together
The detailed steps come down to a simple sequence. Prepare the food. Cut and fill the bag with enough headspace. Place the bag correctly across the seal bar. Choose the mode that matches the food. Run the cycle. Check the seal. Clean the machine. Each step matters because a mistake at any point compromises the final result. What looks like a machine problem is often a setup problem, and what looks like a seal problem is often a maintenance problem. Understanding the full routine turns vacuum sealing from a confusing chore into a fast and reliable kitchen habit. Vonpacking designs vacuum sealer machines with clearly marked controls and accessible sealing bars, which makes every step in this sequence easier to perform correctly. The company's manufacturing background in packaging equipment means these operational details were considered during the design phase, not added as an afterthought. For users who follow the full routine, the machine delivers consistent results that make food storage simpler and more dependable.